Radio Button Group
The Radio Button Group lets the operator choose exactly one of a few options. It is found in the Input - OpenBridge section of the Perspective Component Palette as Radio Button Group.
The Radio Button Group is one of the input components. How values are written back, events, disabling and the behavior in the Designer are shared by all of them and are described in Input Components — Common Features. This page covers what is specific to the Radio Button Group.
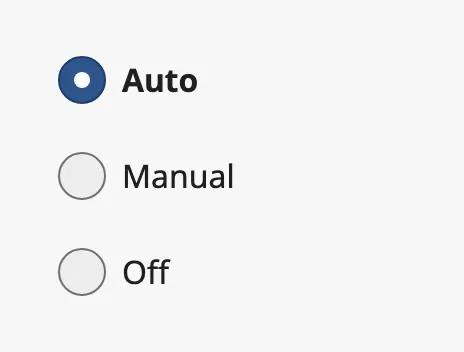
A Radio Button Group with default properties and three options:
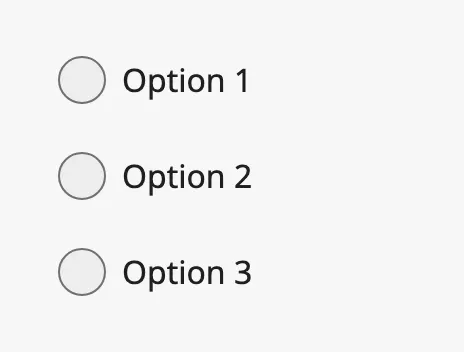
A Radio Button Group dropped from the palette has no options and draws nothing
until options is filled in.
Options
Section titled “Options”options is the list of radio buttons, from top to bottom. Each option is an
object:
| Name | Description | Property Type |
|---|---|---|
| label | Text next to the radio button. Default empty. | value |
| value | What is written to value of the component when the operator selects the option. Must be set, and different for every option. |
value |
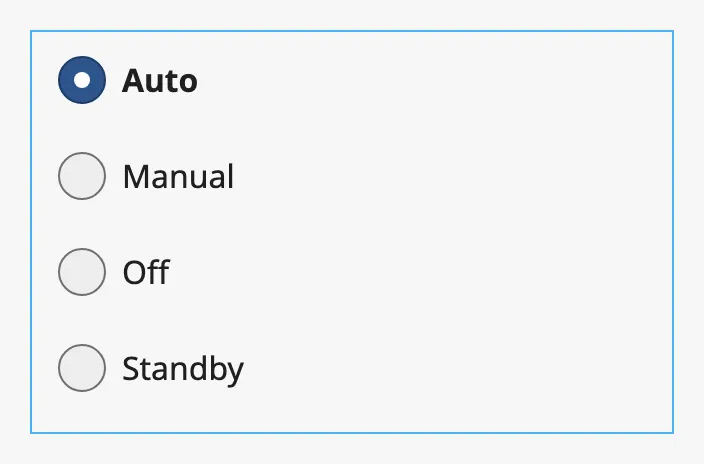
The options are always stacked vertically, and each takes 48 px of height. The component does not scroll: options that do not fit are drawn below its box. The box of a new component (320 × 200) holds four options:
Properties
Section titled “Properties”| Name | Description | Property Type |
|---|---|---|
| options | The radio buttons, from top to bottom. Each option is an object. | array |
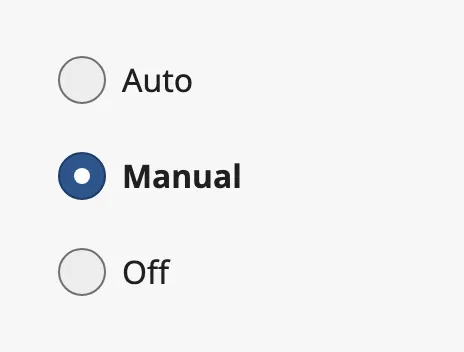
value decides which option is selected: the one whose value is the same.
value is manual |
value matches no option |
|---|---|
 |
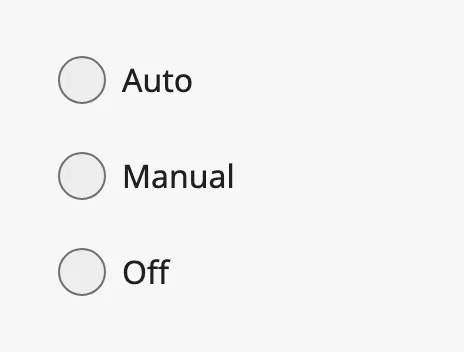 |
When the operator selects an option — with a click on the radio button or its
label, or with the arrow keys — the value of that option is written to
value, and then onActionPerformed fires. A click on the option that is
already selected does nothing. The operator cannot deselect all options.
The value of an option can be a text, a number or true/false. Values are
compared as text, so the number 2 and the text 2 are the same option. What
is written is a number if the option’s value looks like a number, a boolean if
it is true or false, and otherwise a text. This makes it possible to bind
value to an integer or a boolean tag.
Bind value bidirectionally to a tag to connect the group to it. See
Values.
Properties
Section titled “Properties”| Name | Description | Property Type |
|---|---|---|
| value | The value of the selected option. Written when the operator selects an option. Default empty. |
value |
Several Groups in One View
Section titled “Several Groups in One View”name identifies the group to the browser. Radio buttons with the same name
are treated as one group, even when they are in different components.
Note: Every Radio Button Group gets the name
default. When a view — or a page with several views — has more than one Radio Button Group, give each anameof its own. Otherwise selecting an option in one group removes the selection mark in the others, although theirvaluehas not changed.
For the same reason, avoid using the same option value in two groups that are
shown at the same time: a click on a label may then also select the option with
that value in the other group. Use distinct values, such as pump1-auto and
pump2-auto.
Properties
Section titled “Properties”| Name | Description | Property Type |
|---|---|---|
| name | Name of the group. Must be different for every Radio Button Group shown at the same time. Default default. |
value |
| required | Marks the radio buttons as required in an HTML form. It has no visible effect. Default false. |
value |
Disabled
Section titled “Disabled”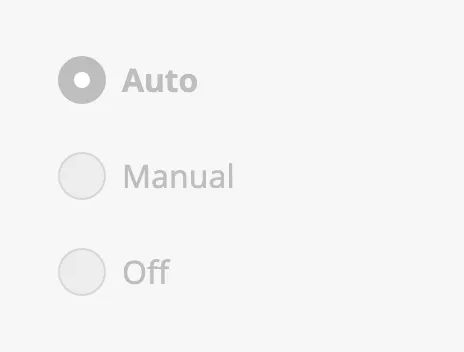
disabled disables all options; a single option cannot be disabled. See
Disabled.
Common Properties
Section titled “Common Properties”These work in the same way on every input component, and are described in Input Components — Common Features:
- Disabled —
disabled. - Appearance —
style.
Component Events
Section titled “Component Events”| Event | Description | Event Object |
|---|---|---|
| onActionPerformed | Fired when the operator selects another option, after value is written. |
— |
See Events.
Examples
Section titled “Examples”Example 1 — Mode Selector Bound to a Tag
Section titled “Example 1 — Mode Selector Bound to a Tag”The integer tag [default]Pump01/Mode is 0 for off, 1 for manual and 2
for auto.
-
Drop a Radio Button Group into the view and make it 200 px wide and 144 px high.
-
Add three objects to
options:label value Auto 2Manual 1Off 0 -
Set
nametopump01-mode. -
Bind
valueto the tag[default]Pump01/Modeand enable Bidirectional.
The group now shows the mode of the pump, and selecting an option writes its number to the tag.
Found an error or something unclear?
Tell us what is wrong, confusing or missing on this page.
Built on the OpenBridge Design System